A blog to share all things craft-y....crafts, home decor, sewing, party decor, diy projects, garden ideas, and various other adventures in creativity. We're glad you stopped by!

Wednesday, June 26, 2013

Independence Day Thank You, Flavored Popcorn in a Mason Jar

Here's a quick Independence Day idea for you. Last summer I made these flavored popcorn filled mason jars as a thank you for all the veterans on our block and in our family. My three year old helped make the popcorn (I just googled for flavored popcorn recipes) and then he helped deliver them with me.

The veterans LOVED it! I think it is so important to not only feel thankful for their sacrifices, but to intentionally go out of your way to show them appreciation. This is just one quick and inexpensive way to do that.

In post editing of the photos the popcorn turned out with a greenish hue, but it was in fact blue colored popcorn. We used jello packages for the flavoring and color.

Land of the Free Because of the Brave

I designed the tags in Silhouette studio.


What are you doing this year to thank our current military and our veterans? Remember...freedom isn't free!

Tuesday, June 25, 2013

First Birthday Party Picnic

My youngest turned one a month ago now and I put together a picnic inspired party in the park for him. I enjoyed thinking and planning this one out a couple of months in advance. I made lists upon lists for the prepping and the day of the party. We had the party thirty-five minutes from our home, so for my sanity I didn't want to forget anything. It almost worked...the only thing I forgot was an ice cream scoop. That's a success in my book! :-)

I designed the invitations in PicMonkey and then printed them as 4x6 photos at Walmart. I glued them to white cardstock to give it a little more stability before placing them in paper sack envelopes to mail. I used washi tape to keep the back fold down and stuck one first class stamp on each sack and they mailed without any issue at all.


I followed this tutorial to fold the paper sack envelopes. She used super cute inserts for her picnic party details. If you're looking for party inspiration her blog is a great source to use.


The wind was blowing like crazy that day, so my tissue paper pom poms are a little crazy looking in this photo and you can barely see the torn fabric ribbon banner I made. On both sides of the corner post of the pavilion I taped photos, one for each month of his first year.


We had a simple menu of hamburgers, hotdogs, bagged chips, fresh mixed veggies, strawberries, and watermelon. I purposefully kept it simple and easy to prepare and I am so glad I did!

My grill master husband.

 
I found those cute picnic baskets at a local estate sale for a few bucks. We used one for the bags of chips and one for the thank you favors, bagged homemade chocolate chip cookies. We used this pudding cookie recipe by Chef In Training. It is by far the best chocolate chip cookie I've ever baked myself...soft, gooey, yummy! And, they're so easy to bake, my self-proclaimed non-experienced baker of a husband actually made them for the party. I take these cookies to lots of get-togethers and they're always a hit.
 
These are the notes we stapled to the cookie bags as a thank you favor.
I made the template in Word and printed ten cards to a page of cardstock.
 
I found the plastic serving trays at The Dollar Tree and Walmart.
The silverware is placed in red tin cans from the Target dollar spot.
The fly nets over the veggies and fruit came from a yard sale, a quarter each...Score!
 
I baked all the cakes myself. I might be crazy.
The banners on the rectangle cakes are made from a tiny gingham print fabric.
The checkered tablecloth came from the Dollar Tree.

I made the card for this cake using my Silhouette.

My mom made this adorable bib for the birthday boy.
The zigzag fabric came from a local quilt shop,
and I found the gingham at a local antique shop.
She used a white terry cloth towel for the backing.


His priceless reaction to the crowd of 50 singing Happy Birthday to You.
 
 
With some advanced planning and a vow to keep things simple I thoroughly enjoyed throwing this first birthday bash for my son. With every party I throw I learn something new and learn to be more organized. Now to start pinning for next year....LOL!

Saturday, June 1, 2013

My First Quilt

For my son's first birthday I wanted to make something really special for him. I decided to go with a baby blanket and followed Andrea's Basic Straight Line Baby Quilt Tutorial over at Knitty Bitties.

Her tutorial is very easy to follow and the cheater binding method she uses is pure genius. This blanket is the biggest sewing project I've completed to date and I was so excited about how well it turned out.


I spent weeks going to fabric stores and picking out just the right combination of fabrics for the quilt. So glad I did too. Next up a pirate themed quilt for my older son!

Monday, April 15, 2013

Baby Bib

Remember when I told you once upon a time, my mother is the real talent behind this craft blog?

No?

Well, she is. She can sew anything...and she sews it well. She was actually taught how to sew correctly by a legitimate home ec teacher (very much unlike my self-taught methods via blog tutorials and you tube videos). When she watches me pin fabrics together I watch her cringe watching me and I know what's coming next....

"Mrs. Carrington would be rolling over in her grave if she knew I was letting you pin that way."

Yes, yes she would.

But, hey. I do the best I can and I'm getting better.

Moving on....

So today's project is courtesy of my talented seamstress of a mother. Granted, this is a very easy, beginner level project as sewing goes, but it's still much better than what I can crank out at this point!

She followed the tutorial over at Sew She Sews. You can visit the tutorial here http://sewshesews.wordpress.com/2010/04/08/quilted-patchwork-bib-pattern-and-tutorial/. Her instructions and the photos to go with make this a very easy to tutorial to follow if you're just learning...like me. :-)

Mom made one of these for St. Patrick's Day and most recently, Easter. My beautiful second son was kind enough to model the Easter bib for us.


Between the jellybeans and blue chevron is a tiny strip of yellow ribbon.
 
My son's first birthday is at the end of May. I'm thinking I'll need to commission Grami for a birthday bib as well. ;-)
 
Linking up here this week.  


Friday, April 12, 2013

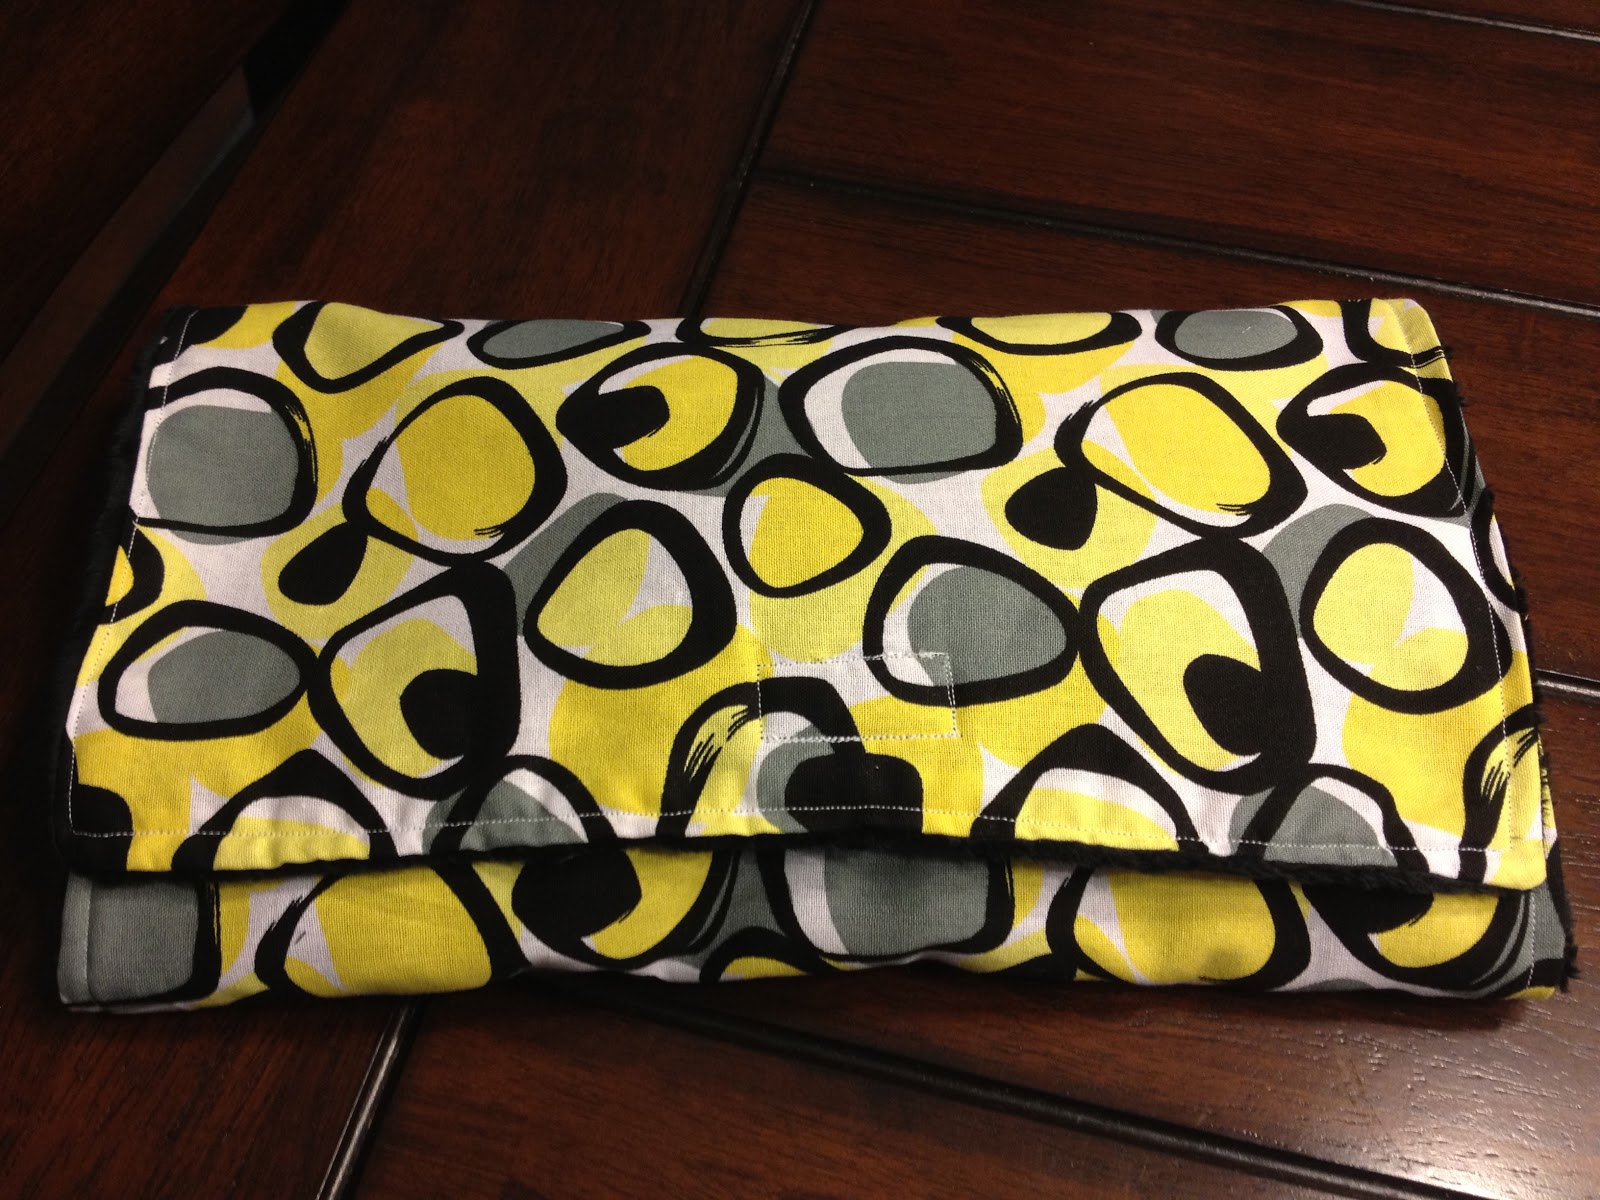
Changing Pad and Diaper Holder plus Custom Wipes Case

In my last post you read about the baby shower we hosted for my cousin's wife. Today I'm going to share with you the fruits of my hand made baby gift making labors.

Maybe what I love most about this particular project is that I used the same fabric for her changing pad and diaper, wipes holder as I did for her bridal shower a year earlier. Ah, the wonder of "neutral" fabrics.

I followed this awesome tutorial over at Cluck, Cluck Sew to make the changing pad and diaper holder. Great instructions, and it was a very quick sew, even for a total beginner/novice like me.

First up though, the custom wipes case. This has been done over and over, so nothing new here. A friend made one for me for my first son and I loved having it in my diaper bag. There's just something about a custom wipes case that makes getting wipes out for diapers, sticky faces, snotty noses, and dirty hands just a little sweeter. I simply traced the case on one piece of felt and one piece of fabric for the front and the back, then hotglued it on, and trimmed it in black grosgrain ribbon. Added a bow and black button to the top, easy peasy, and cute!

 
The changing pad.
I used a black minky fabric for the inside.

Would easily hold a few diapers and the wipes case.
 
All wrapped up neat and tidy with a velcro clasp.
When it gets dirty just toss it in the wash and use again.
 
Creating handmade baby things is my new sewing obsession. The projects just seem simple and quick, very satisfying to this newbie on the sewing machine. Right now I'm in th emiddle of a baby quilt for my son who will turn one in May. It seems rather large for a baby, so it's okay that I'm just now getting to finishing it. ;-)
 
Have a happy Friday!