A blog to share all things craft-y....crafts, home decor, sewing, party decor, diy projects, garden ideas, and various other adventures in creativity. We're glad you stopped by!

Wednesday, August 21, 2013

Minion Bulletin Board

Hey bloggity-blog!

Today's post is one of my most fun projects to date. My brother called to ask if I could design some minions (characters from the Despicable Me movies) for his wife's bulletin board at school for parent night THE DAY BEFORE she needed them.

Uhhh.....yes, I'd love to, brother. ;-)

So, I spent a couple of hours designing three different minions in the Silhouette software. I have a minimal skill set in computer design learned while teaching high school computer courses with the Adobe creative design software. Fortunately, many of those tools I mastered in Adobe carry right over to the Silhouette studio software. I did not use any files to outline the minions. I used only basic shapes and then manipulated the points along the line of the shape and grouped shapes to achieve designing the different pieces of the minions.

Side note...don't accidentally google minon when searching for minion inspiration. Just trust me on this one.

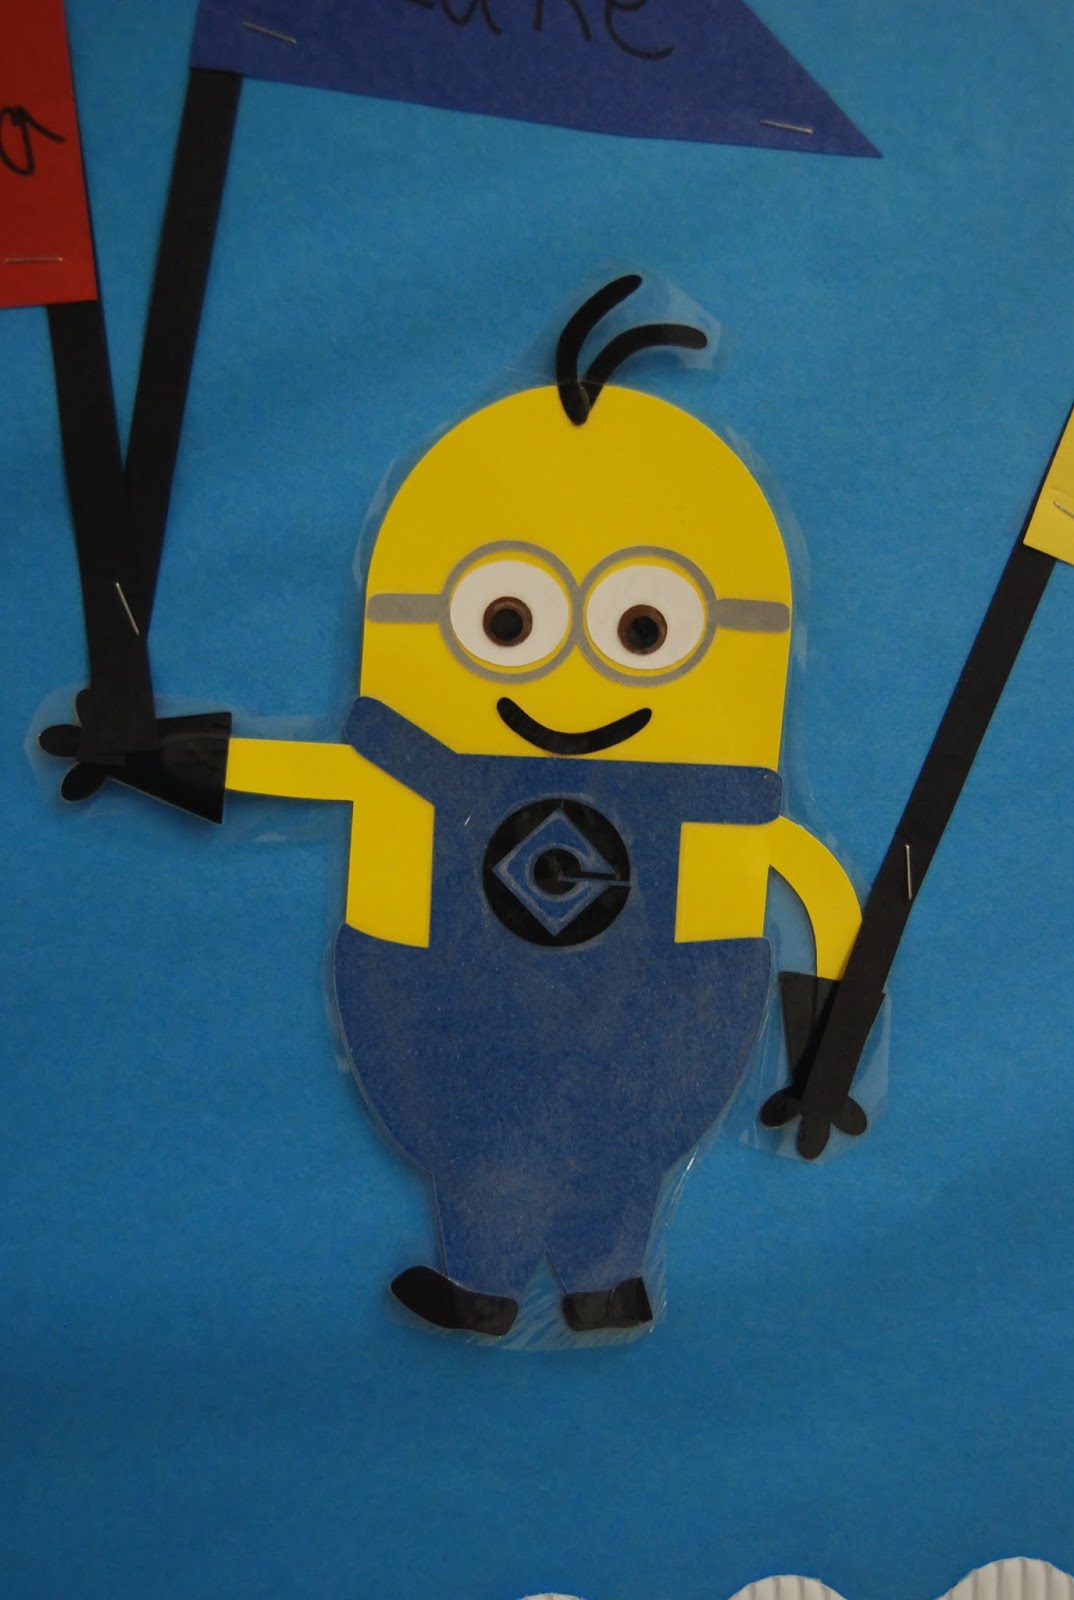
Here are the three different minions I designed.


By flipping the minions you can achieve different looking minions with the same shape. We also added hair pieces to give each minion its own personality.

Here's the board all put together. My sister in law did an awesome job placing the minions on the board and she gave them their balloon, flag, and banana accessories.


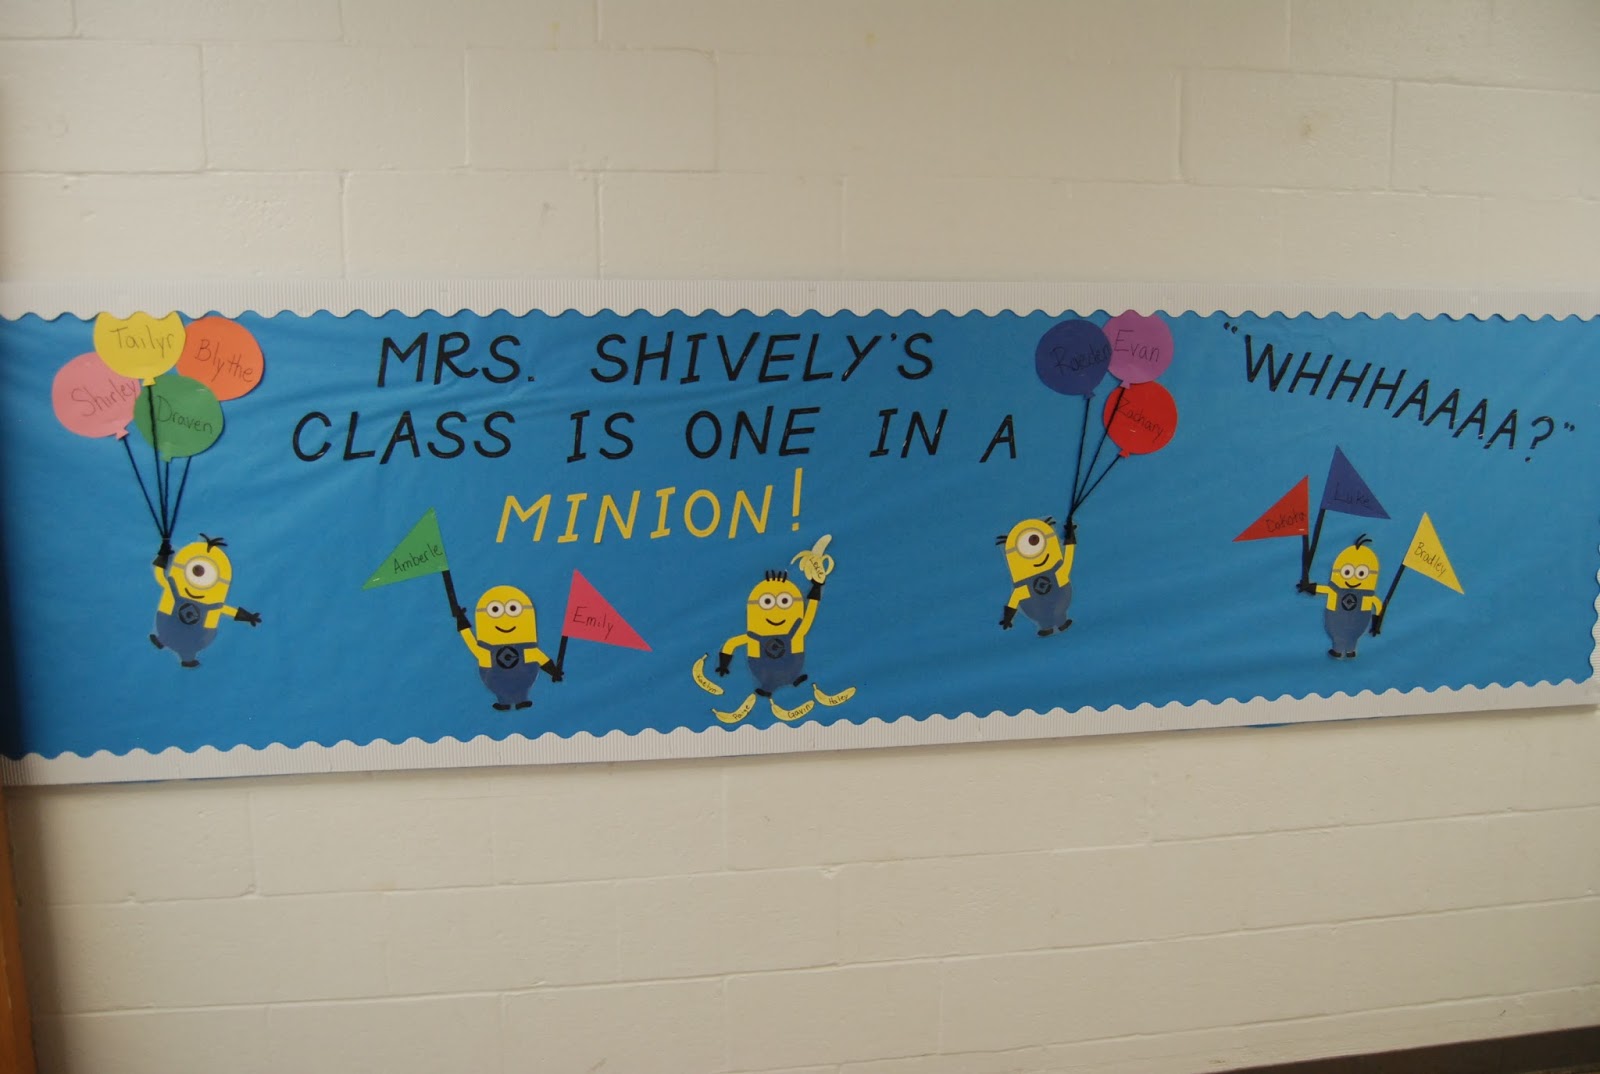
This little guy floating away with his balloons is my favorite.


"Oh, bello!"
It's a minion thing.
 
If you've never seen the Despicable Me movies, then you can watch the 50 second YouTube video here to see minions in action. Or this one here. And, if you still want to see more....you can watch this one here. Personally, I think the third link is the funniest.

Okay...confession...I just can't stop watching these minion clips! They're different from what was in the movies. This last link seriously had me laughing out loud. You can watch it here. Because who doesn't have all the time in the world to waste on watching 1 to 2 minute clips on minions? ;-) I joke, I joke.

Speaking of no time to waste....

Have your kiddos gone back to school yet? My oldest baby begin his first year of school on Friday. I am excited for him to begin, but definitely having a hard time figuring out how he got to be school age so darn fast! Haha!

Hope you all have a great rest of the week!

Tuesday, August 20, 2013

Fabric Scrap Stash Buster - Mini Monsters

Hello craft blog!

Today for your reading pleasure a scrap fabric stash buster! AND...a craft made for BOYS! Those are hard to find. :-) Obviously, also easily made for girls too. Just switch up the color palette.

I spent some time recently sewing for a little guy's fourth birthday and whipped up this quick and easy mini monster to match the pajama pants I made for him.

The eyeballs were cut from the pajama fabric.

First step is to cut your front and back pieces.
Mine are approximately 9" tall by 6" wide.
Then, sew the face pieces on the front fabric.

Second step sew the arms and legs straps.
 
 For the legs and arms I took a 10" long by 4" wide strip of fabric, folded it down to 1" width, and sewed it as one piece around all four sides, then cut it in two and put the open ends inside the monster. Do this twice, once for arms and once for legs.

Third step tuck the arms and legs inside the monster, with front and back piece right sides facing each other, then sew around the perimeter with a 1/4" seam allowance, leaving a two to three inch gap open for turning and stuffing.

Last step turn and stuff, then top stitch as close to the edge as you are comfortable going around the entire monster to close up the hole left for turning and stuffing. I used a zig zag stitch for this step just for fun.

The back of the monster.
Also, the fabric I used for his matching pj pants.

This was such a quick and easy project I whipped up another one for my nephew just because he asked.

He's a super helper and begged to do the stuffing himself.


My son in red on the left and my nephew in green on the right.

My mom made the blue monster for my son quite some time ago.

She's who I steal all my best ideas from. ;-)

This weekend I purchased the materials for my son's quilt and it is next up on the project block.

What have you been working on lately?